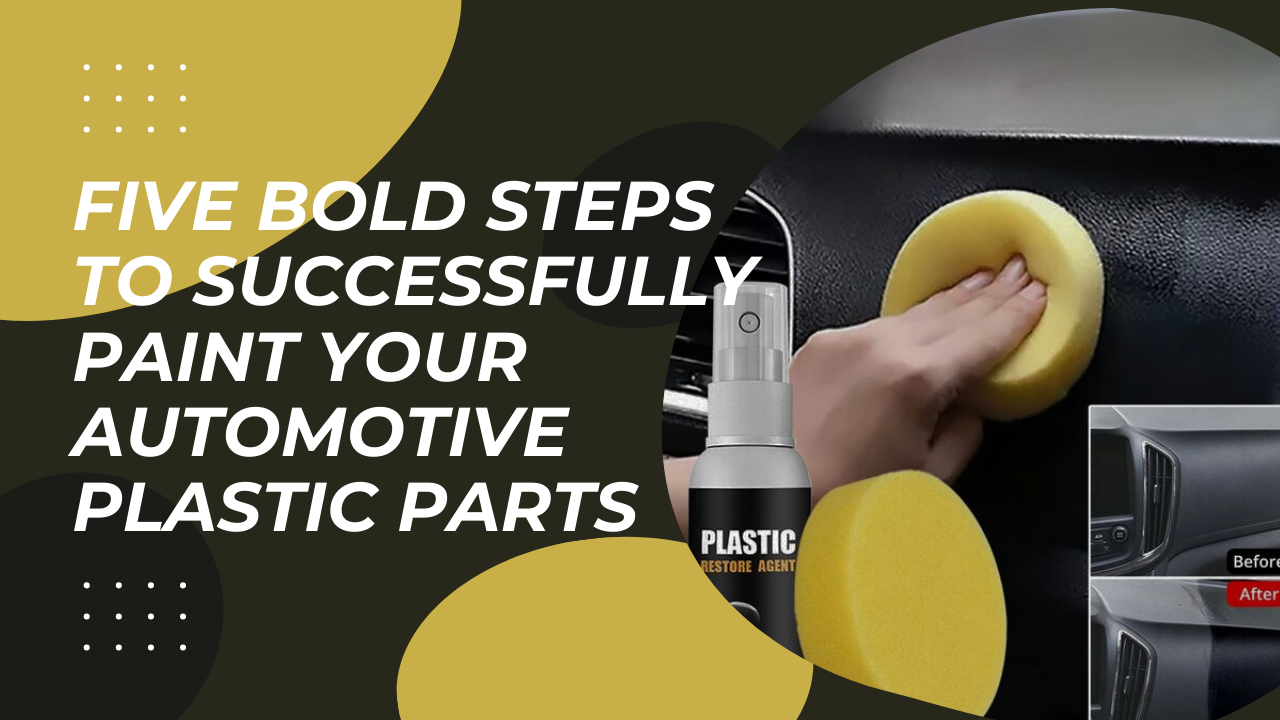
No matter how tempting, our cars never stay as bright and shiny as the day we get the keys and drive them off the lot. Poor road conditions, inclement weather, and general wear and tear ultimately dull the paintwork and make the vehicle's appearance less than ideal. While some people may resort to costly respray services and take their cars to a garage, this does not have to be the first port of call.
Spray-painting the plastic fittings found all across your vehicle is a simple way to improve its appearance.
It may appear that getting creative and spray-painting your car's plastic fittings is beyond your abilities, but it couldn't be simpler. Follow our comprehensive guide, which includes what you can spray paint as well as tips and tricks, and you'll be a spray painting pro in no time!
What will I require?
Before beginning any spray-painting project, make certain that you have all of the necessary tools. To effectively spray-paint your car, you'll need the following items:
- Paint – This is a no-brainer. However, some paints are more suitable for use than others. The type of spray paint you need to use depends on the nature of the plastic you are painting. Our team would be happy to provide additional guidance on which option would be best for your project.
- Sandpaper – We suggest getting a variety of sandpaper grades ranging from 150grit to 1200 grit. This aids in achieving the smoothest possible finish.
- A Mask – Wear a face mask throughout to make that you are not ingesting any chemicals.
- Primer – Because you'll be spray-painting on plastic, you'll need an appropriate primer to ensure that the paint adheres well to the surface. You'll have to redo the paint job much sooner if you don't have this! To ensure a proper finish, you'll need a High build primer.
- Lacquer – This protects the colour and ensures a long-lasting paint job. You can choose from a variety of finishes, ranging from glossy to matte.
- Microfiber Polishing Cloth – These will be required at the end to ensure the most polished finish possible.
Five bold steps to successfully paint your automotive plastic parts
- Remove, Sand & Clean
Remove the plastic part you intend to paint so that you can do an effective job without unknowingly spraying another part of your vehicle.
It is also critical to sand the exterior to remove any bumps or raised marks on the plastic substrate. To accomplish this, gather your sandpapers and, as previously stated, work your way up by grit level. This step should not be rushed because it is critical to not only achieve a smooth surface but also to remove the 'shine' of the plastic. This ensures that the primer and paint fully adhere and provide a long-lasting paint job.
After sanding, the part should be cleaned with soapy water to ensure that the surface is free of dirt and excess debris induced by the sandpaper.
- Primer
Take out your primer and prepare your plastic car part. Hold the can about 6-7 inches away from the part while wearing your mask and in a well-ventilated, spacious area. Maintain the can upright and begin spraying before the primer has passed over the part to make sure an even finish across the complete substrate. Apply 3-4 coats of primer, allowing 15 minutes around coats to ensure each layer is completely dry.
- Colour
Now comes the exciting part! Whether you chose a classic black or a new colour, this is the juncture at which your old plastic part will be given a new lease on life. Wear your shield and keep the can 6-7 inches away from the part, as you did with the primer. Apply the same number of coats as before, and allow them to dry for a sufficient period before beginning the next one.
- Lacquer
As with the prior two steps, take your lacquer and apply 4-5 coats steadily to achieve the best finish. Allow the part to sit for a few hours before doing anything about it, as putting it back in your car too soon may cause all of your hard work to be dented and ruined.
- Polish
After your part has completely dried, polish it with your microfiber cloth. This will remove any remaining debris and leave your part ready for re-application to your vehicle.
You're ready to go!
That's all there is to it! Your car will look brand new for a fraction of the price that a garage would have billed. You'll save funds and have a sparkly, vibrant car by the end if you invest a little in the right equipment and give up some of your time. If you know anyone who needs car repair advice, please share this post with them on social media.
