For anyone who has experienced the fear of a falling ceiling fan, going through such vulnerability again would be off the list. An unbalanced ceiling fan is way riskier and can ultimately lead to several damages to anyone who falls victim to such an incident. Why go through the efforts of installing a high-security system in the home when a wobbly ceiling fan can probably cause more damage. A wobbly ceiling fan at a high speed would not only strike fear in the hearts of people around it but also cause unnecessary and annoying noise.
Nonetheless, it is best to correct such ceiling fans to avoid accidents that could have been easily avoided. Below contains life-saving tips on how to make adjustments to wobbly and noisy ceiling fans.
There are two (2) popular ways of balancing a wobbly ceiling fan which is either via:
- Mechanical Means
- Use of a Balancing Kit
However, it must be noted that you are not to begin any process until you have made sure the ceiling fan is turned off.
MECHANICAL MEANS
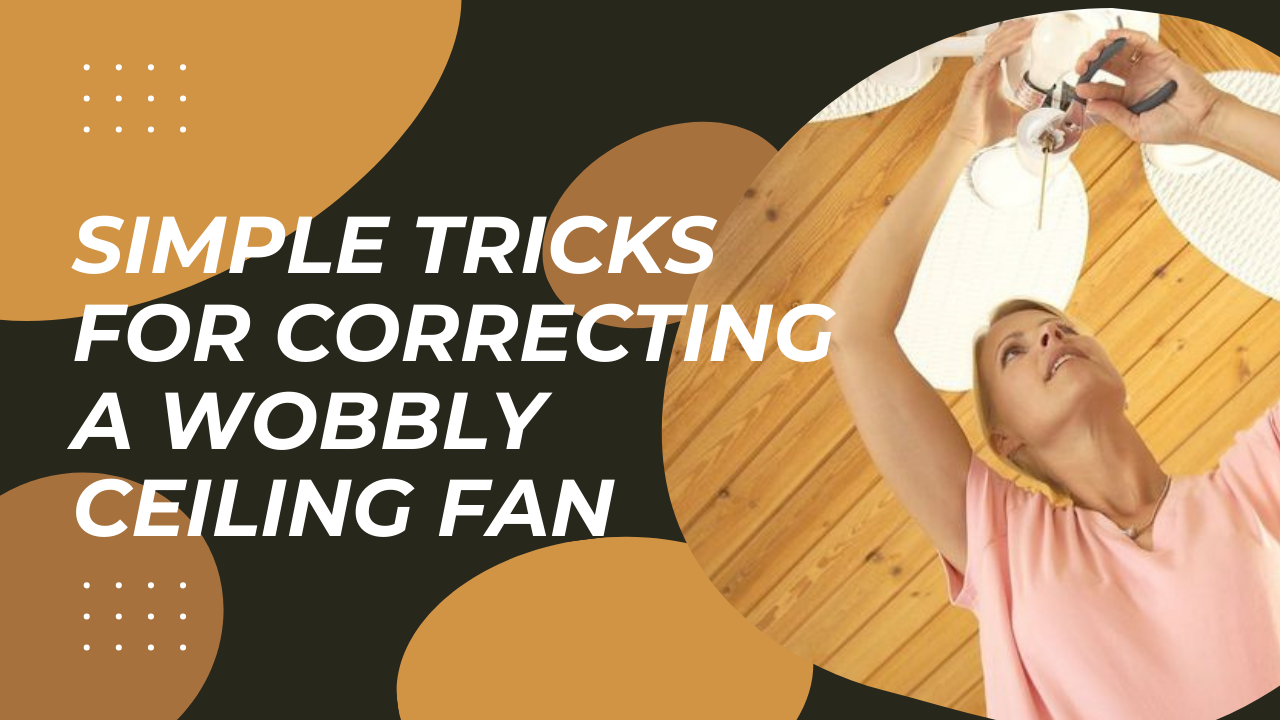
For this method, all you need is a ladder, screwdriver, and measuring tape.
- Inspection
The first step you should take is inspecting the fan blades. Be sure to clean out every accumulation of dirt to make your task easier, you wouldn't want to inhale dust or get your hands so dirty even before the task has started.
Turn on the fan afterward to dry out the moisture on then since you have just cleaned them.
You also need to check if the blades are still in good condition or if they are warped. If they are bent or warped, you have to change them if they are beyond adjustments
- Loosening And Tightening
Another necessary step that shouldn't be ignored when correcting a wobbly ceiling fan is by loosening and re-tightening the fan's mounting. Pick up a screwdriver and get set to loosening the canopy cover screws to allow the canopy down. Loosening the canopy exposes the screws on the mounting brackets and outlets which gives you an open chance to re-tighten every loose screw.
Check the screws around the down rod also for re-tightening, this is the best way to secure loose screws.
- Alignment
Anyslightincreaseordecreaseinheightofanybladewouldcauseanimbalanceinyourceilingfan. Your measuring tape would prove useful here so grab it and use it to take measurements of the available distance between the ceiling and the blades. Rotate manually with your hands to take note of the distance between the ceiling and the edge of each blade. Since the warped blades have been corrected so it should be easy.
The vertical distance between the ceiling and these blades should be kept equal.
- Confirmation
Step down from the ladder, switch on the ceiling fan and keep a considerable distance from its position to confirm if the wobbling has stopped. If it has stopped, congratulations on working it out.
USE OF A BALANCING KIT
In a case where the wobbling persists or if you would want a less stressful method, using a balancing kit would be the best. You can purchase a blade-balancing kit from a fan's manufacturer or a local store around.
- Before turning off the fan, take note of the speed that causes more wobbling. Most times, it is usually caused by the highest speed.
- Now pick up the plastic clips provided in the kit and fix them at the edge, center, and tip of each blade, and then turn on the fan for noticeable improvements.
- If there are no noticeable improvements, adjust the position of the clips across the length of each blade and then switch on the ceiling fan to test it again.
Adjust the plastic clips until the wobbling has stopped.
- You would find self-adhesive weights in the kit. Fix one of them to the top of the blade's centerline, the weight should be placed parallel to the clip. Repeat this process on as many blades as possible to ensure a firm ceiling fan.
Here it is! You have all you need to correct a wobbly and noisy ceiling fan.